|
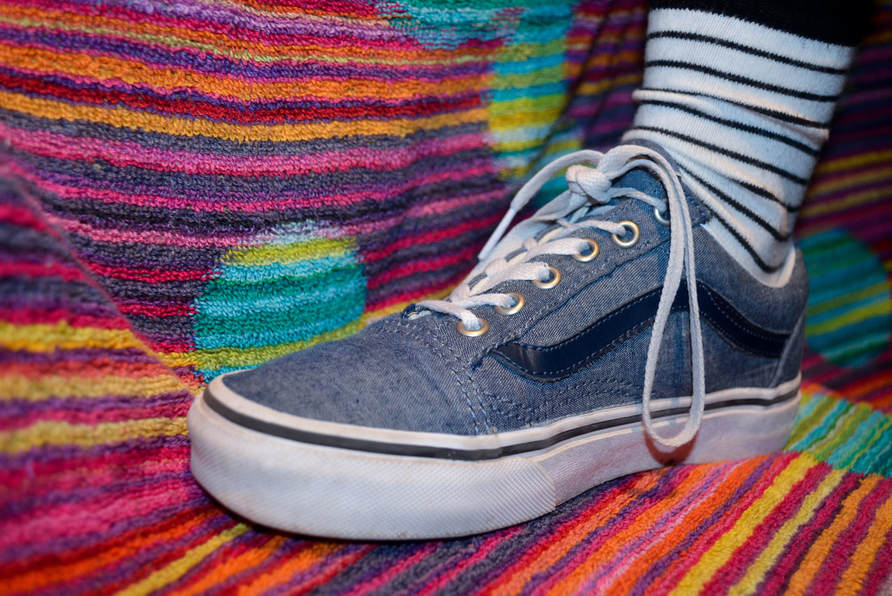
For this week's assignment we got to photograph shoes, in which we would use a photo for a later photoshop project. It was storming outside so we had to get creative and use beach towels to create a more attractive background. I choose this photo because it was a detailed photo highlighting the model's vans and contrasting socks with a colourful background. I began by cropping the right side because originally there was a harsh black line and lens correcting. Then I lowered the temperature to -12 to bring out the blue in the shoe. I increased the exposure to +0.15 and contrast to lighten the photo and create contrast between the lines in the shoes and socks. I increased the highlights and whites to bring out the white rubber of the shoe, laces and socks. It made it brighten and cleaner. Next, I decreased blacks to make them darker and more opaque. Lastly I decreased shadows to -13 to bring out some shadow in the sock but not overly do it.
|
|
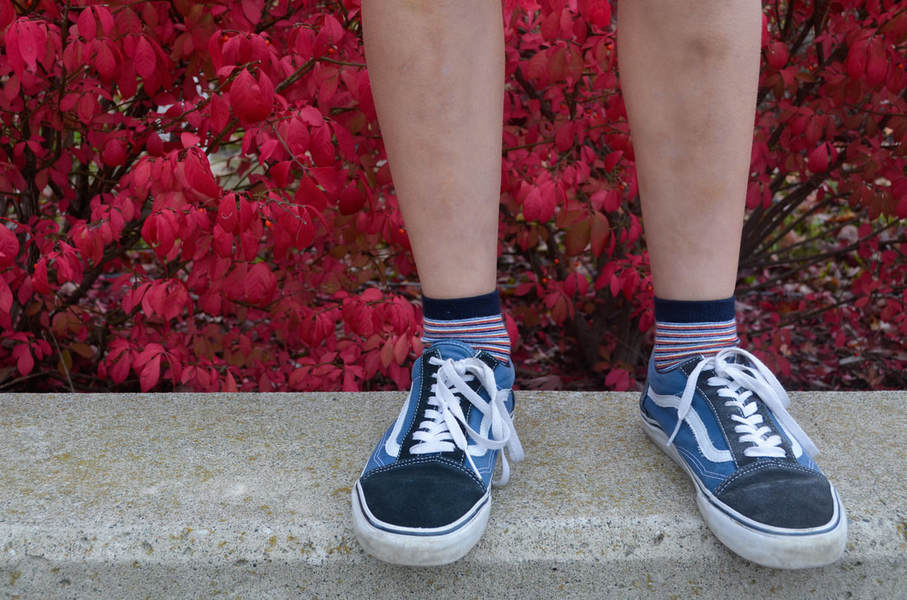
For this photo, it was taken at the school in front of a bright red tree which matched the model's socks. I choose this photo because the red in her socks matched with the red leaves and brought this picture together. It was an overcast day so the lighting was perfect and didn't need to be adjusted. I cropped the bottom of the picture to get rid of negative space and angled the photo so the ledge was a straight line. Next, I decreased temperature to -5 to bring out the blues in her vans and socks. Then, I increased the contrast to +8 to bring out the background of the plants and the contrast of the white and navy blue in her shoes. Then I decreased the highlights and whites because the laces looked overly white and overexposed. Then I increased the blacks to +18 to lighten her shoes so the weren't underexposed since the true colour of the vans were navy blue. Lastly I increased the vibrancy to make the bright colours of the leaves and blue colours pop.
|
|
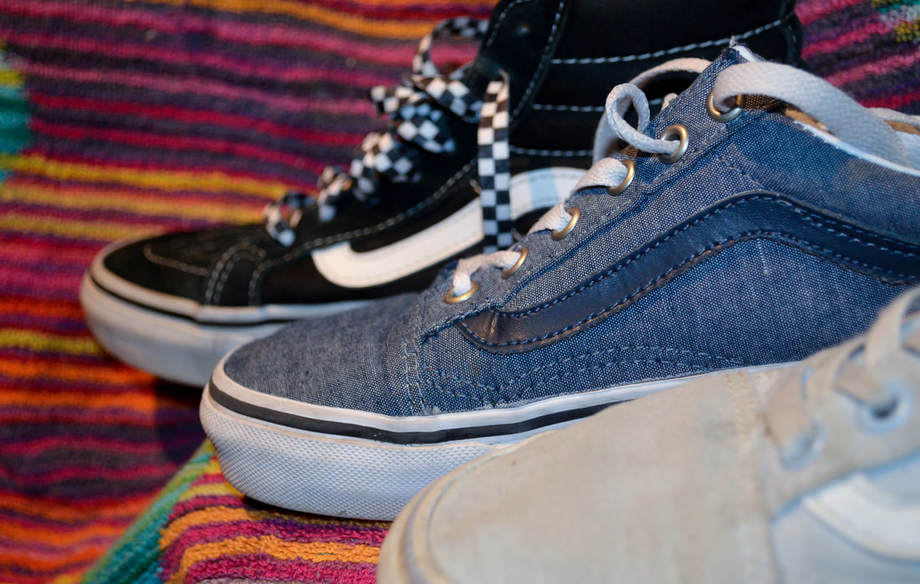
I choose this photo because the photo consisted of a ton of detail and highlighted the different styles of vans shoes in a row. It especially focused on the middle ground of the dark blue shoes. I cropped the top of the photo to get rid of unnecessary negative space and lens corrected. I decreased the temperature to -14 to bring out the cool tones in the photo and tint to -5 to enhance that even more. Then I increased the contrast to +10 to differentiate the blacks and whites. I increased the highlights and whites to +11, and +9 to bring out the white rubber soles and white in the laces to make them appear brighter and cleaner. Next, I decreased the shadows to -16 to bring them out more and the blacks to -19 to make the black in the photo richer and more opaque. Lastly, I decreased the vibrance to -5 because it looked overly saturated.
|
